前言
本博文记录博主日常使用 CentOS 的记录;
yum
http://docs.redhat.com/docs/en-US/Red_Hat_Enterprise_Linux/6/html/Deployment_Guide/ch-yum.html
yum 安装
CentOS 6
搜索 yum-*.noarch.rpm
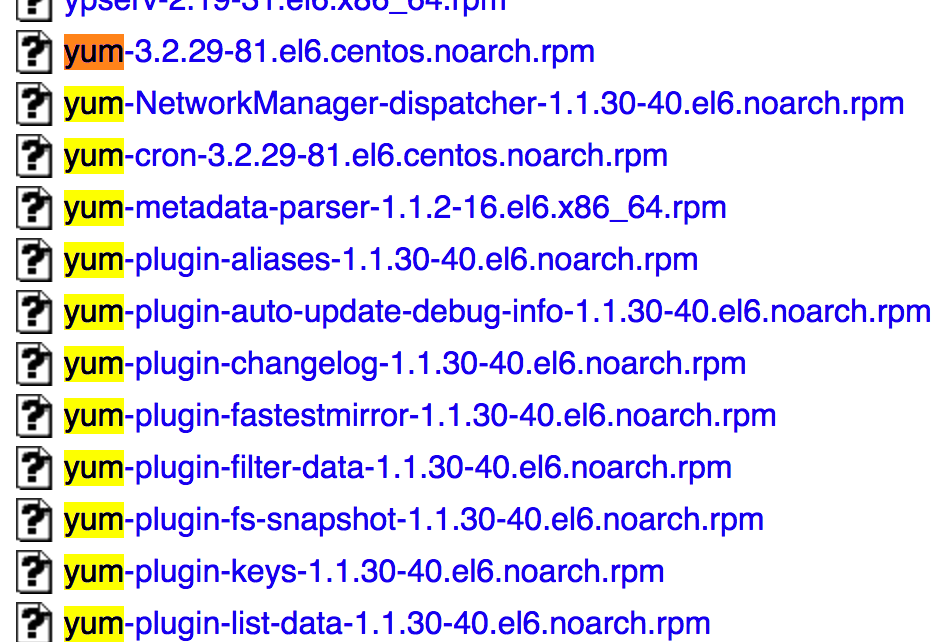
下载对应的 yum 版本 rpm 安装包
1
$ wget http://mirror.centos.org/centos/6/os/x86_64/Packages/yum-3.2.29-81.el6.centos.noarch.rpm
安装
1
$ sudo rpm -Uvh yum-3.2.29-81.el6.centos.noarch.rpm
软件安装
通过 yum install 直接安装
安装 nginx
1 | $ sudo yum install nginx |
查看安装情况1
$ whereis nginx
安装 java
http://www.cnblogs.com/fatt/p/5749518.html
通过特定软件的源进行安装
因为 CentOS 自带的源里面所包含的应用软件的版本往往比较老,所以不能直接通过yum install进行安装,而是要先去下载特定软件的源以后,再进行安装;mysql 就是一个很好的例子;
安装 mysql
查看可安装的版本
1 | $ yum list mysql\* |
可以看到,自带的源,只能安装 mysql 5.1 的版本,这远远不能满足需要;
下面,通过 https://dev.mysql.com/doc/mysql-yum-repo-quick-guide/en/ 梳理出官方的安装教程,
下载当前 mysql 最新的 yum 源文件 rpm
首先,进入 yum 的 repo 目录1
$ cd /etc/yum.repos.d
然后,下载 rpm
1
$ sudo wget http://dev.mysql.com/get/mysql57-community-release-el6-11.noarch.rpm
安装源
1
$ sudo rpm -ivh mysql57-community-release-el6-11.noarch.rpm
安装完成 rpm 以后,会自动的在 /etc/yum.repos.d 文件夹中出现新的 yum 源文件 mysql-community-source.repo;默认情况下,mysql 5.7 community 版本是可用的;
1
2
3
4
5
6
7
8
9$ cat mysql-community.repo
...
[mysql57-community]
name=MySQL 5.7 Community Server
baseurl=http://repo.mysql.com/yum/mysql-5.7-community/el/6/$basearch/
enabled=1
gpgcheck=1
gpgkey=file:///etc/pki/rpm-gpg/RPM-GPG-KEY-mysql
...查看哪些 mysql 源可用
1
2
3
4
5
6
7
8
9
10
11
12
13
14
15
16
17
18
19$ yum repolist all | grep mysql
mysql-cluster-7.5-community MySQL Cluster 7.5 Community disabled
mysql-cluster-7.5-community-source MySQL Cluster 7.5 Community - disabled
mysql-cluster-7.6-community MySQL Cluster 7.6 Community disabled
mysql-cluster-7.6-community-source MySQL Cluster 7.6 Community - disabled
mysql-connectors-community MySQL Connectors Community enabled: 36
mysql-connectors-community-source MySQL Connectors Community - disabled
mysql-tools-community MySQL Tools Community enabled: 47
mysql-tools-community-source MySQL Tools Community - Sourc disabled
mysql-tools-preview MySQL Tools Preview disabled
mysql-tools-preview-source MySQL Tools Preview - Source disabled
mysql55-community MySQL 5.5 Community Server disabled
mysql55-community-source MySQL 5.5 Community Server - disabled
mysql56-community MySQL 5.6 Community Server disabled
mysql56-community-source MySQL 5.6 Community Server - disabled
mysql57-community MySQL 5.7 Community Server enabled: 183
mysql57-community-source MySQL 5.7 Community Server - disabled
mysql80-community MySQL 8.0 Community Server disabled
mysql80-community-source MySQL 8.0 Community Server - disabled可见,mysql57-community 是被激活的
激活或关闭源
1
2
$ sudo yum-config-manager --disable mysql57-community
$ sudo yum-config-manager --enable mysql56-community或者可以直接手动的修改该
1
$ vim mysql-community.repo
将对应的 mysql 5.7 community server 的 enable 值设置为 1
1
2
3
4
5
6
[mysql57-community]
name=MySQL 5.7 Community Server
baseurl=http://repo.mysql.com/yum/mysql-5.7-community/el/6/$basearch/
enabled=1
gpgcheck=1
gpgkey=file:///etc/pki/rpm-gpg/RPM-GPG-KEY-mysql只查看被激活的源
1
2
3
4
$ yum repolist enabled | grep mysql
mysql-connectors-community MySQL Connectors Community 36
mysql-tools-community MySQL Tools Community 47
mysql57-community MySQL 5.7 Community Server 183安装
1
$ sudo yum install mysql-community-server
即可安装通过第四步被激活的 mysql 5.7 community server 版本;
通过上面的步骤,至此 mysql 安装完毕,不过后续重要的步骤也不能忽略
启动 mysql
1
$ sudo service mysqld start
第一次启动的时候,mysql 会被激活;
mysql 第一次启动激活以后,会为 root 生成一个默认的密码,保存在 mysqld.log 中,可以通过如下命令进行查看
1
$ sudo grep 'temporary password' /var/log/mysqld.log
更改 root 密码 as soon as possible
进入 mysql1
shell> mysql -uroot -p
修改密码
1
mysql> ALTER USER 'root'@'localhost' IDENTIFIED BY 'MyNewPass4!';
下面这一步很关键,确保权限的修改生效;
1
mysql> FLUSH PRIVILEGES;
更详细的操作,包括如何更新 mysql,查看 https://dev.mysql.com/doc/mysql-yum-repo-quick-guide/en/
添加成员
添加用户,1
$ sudo adduser wangyi
设置密码,1
$ passwd wangyi
将 wangyi 添加入 sudoers,这样使得该用户具有 sudo 的权限1
$ sudo visudo
如果没有添加组,则添加组1
$ sudo groupadd dev
将该成员加入组1
$ sudo usermod -a -G dev wangyi
检查该用户是否添加成功1
$ cat /etc/passwd
查看用户是否已经入组1
$ cat /etc/group